Happy Thursday! I hope everyone’s week is going well.
Even though I moved inland 2 years ago, it still amazes me how quickly the weather can change out here. When I lived in Orange County, weather was mild. Now I live an hour inland, and today we went from 100 degrees, hot and sunny to a severe thunderstorm warning. A cloud has literally unzipped over my house. I love the rain so I don’t mind much, but the wind has been causing a bit of havoc and I’ve never heard thunder this loud. Before I realized that the storm had hit, wind caused my blinds to knock over a vase, shattering glass all over my kitchen and living room. Needless to say we’re stuck indoors so it was time to tackle a project that’s been on my list for a while.
[We’re also intermittently losing power so I’m not sure when this post will go up, but hopefully it does post on Thursday. If not, then ummm…HAPPY FRIDAY!]
Months ago I bought a set of numbered art prints from the same person who created the calendar I used in the Letterpress Journal. The artist was doing a deal where you got one print free if you bought two. Since I wanted the the set of three anyway, I went for it. The prints came from France, and with shipping, I think they cost me about $120. Certainly not cheap, but I loved them so much, it was well worth every cent.
After spending quite a bit of time staring at blank walls around the house, I decided this little alcove would be the perfect place. This oil painting is pretty, but it just wasn’t working for me.

However, the space is perfect for displaying art since it has a built in lighting. Just imagine I swapped out that ugly yellow lighting for a pretty chandelier in the near future.

Before I show you the after shots, let’s take a side step. My first job was at Aaron Brothers (an art supply and framing store) as a sales person. I worked there throughout high school and college and over time transitioned to certified framer and later to a key holder. Looking back it has been my favorite job to date, but that’s not really the point. The point is that I cannot bring myself to pay for framing since I know how to do it myself. I’m referring to the matting in particular which can get ridiculously expensive.
Tip: I also know that their penny sales are always in January and July, so if you need multiple frames, pick them up during that sale where you can get the 2nd frame for just a penny. In addition to the three fames for this project, I picked up three more for other projects, and the grand total was just under $100. 6 large frames for $16 each is a great deal when they all were marked at about $40+ each before the sale.

To mat them myself I picked up a 2 full size mat boards, in Ash, from their framing department for $28. For less than $30 I was able to mat all three prints and I’m left with enough scrap for quite a few more prints.
Tip: You can have their framing department cut down the boards to any size you want, usually for free. I had them cut me 3 pieces of 20×28 from the 2 boards which saved me time (and space since full size boards would be a tight fit in my little car). In most cases they will cut them down for you for free; however, if they do charge you, it shouldn’t be anymore than $.25 a cut which is still a good deal.
Tip: ALWAYS take the scrap/extra, if they don’t give it to you, ask for it. If you’re paying for the whole board, you should get the whole board, regardless of what they cut for you. Unless it’s just sliver sized pieces, you can use them for a variety of things at home.

I didn’t take any pictures of the matting process, but if anyone thinks it would be helpful, I’d be happy to write up a tutorial. I have the Logan Model 301-S Compact Mat Cutter at home, which is a good model to do small scale matting. It’s inexpensive and easy to use.
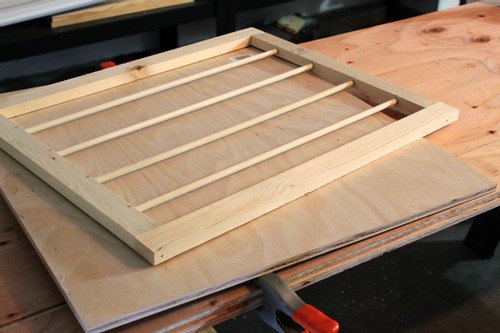
Tip: Clamp the mat cutter to the table using inexpensive hardware store clamps to keep it from shifting while you are cutting. If you have a very steady hand you can buy a Hand Held Mat Cutter and use a ruler to cut the mat. Unfortunately, my hand isn’t steady enough to use this method, but others have success with it.

Once the art was matted and framed, the last step was to get it up on the wall. Turns out that wall is really tall and my ladder is not, so it took a little creative thinking to get up high enough, but it worked. I won’t show you what I rigged up, since it was a ‘don’t try this at home kids’ trick, and I don’t want to give my mom a heart attack.

*I fixed the wrinkling you see in the below picture.

So much better than the oil painting.
Next up, I plan to paint the wall behind the art a shade of grey and replace the recessed canned lighting with a pendant or chandelier.

*Mat Cutter links are affiliates.